Updated on 09/08/2026

Credit Notes

Configuration

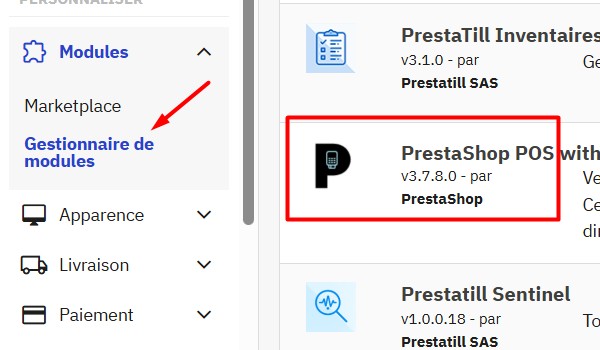
In your PrestaShop back office, go to the settings of the PrestaTill POS module.

- PrestaShop 9, 8 and 1.7: Modules menu / Module Manager

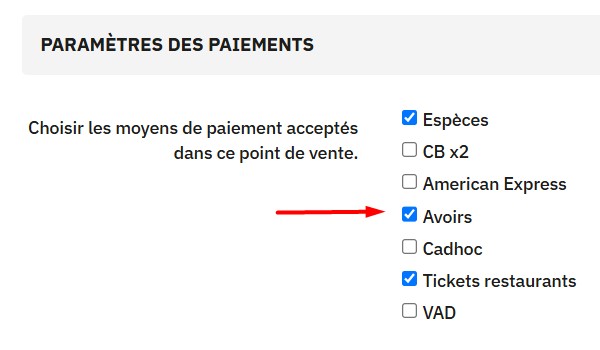
Search for the "PrestaShop POS with PrestaTill" module and click "Configure". In the "Your stores" tab, select the relevant store and go to "Payment settings".

Credit notes are listed among the payment methods, and you can choose whether to enable them or not.

You can set the credit note validity period, defined in days (60 days by default). As the merchant, you can always override this validity at checkout if you wish. Expired credit notes are simply flagged with a grey background.

Generating a Credit Note

A credit note is generated after a return processed from the POS, with an EAN13-type barcode (see the Returns tutorial).

If credit notes are generated from the PrestaShop back office, they are also visible and available in the POS.

A credit note is also generated when processing a refund, to serve as an accounting record. In this case, the credit note cannot be used as payment.

Using a Credit Note

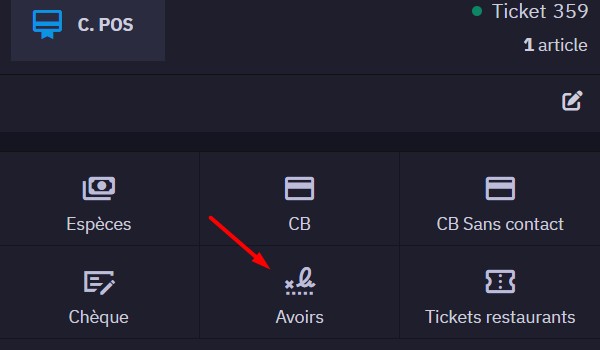
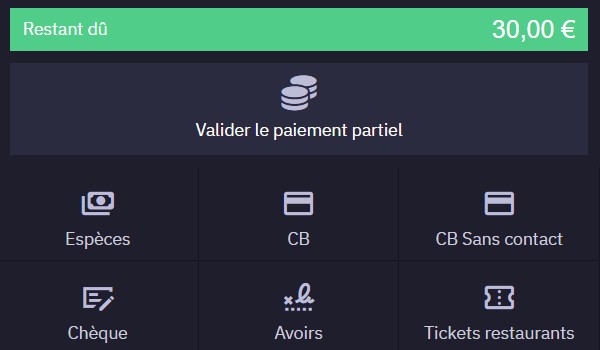
A credit note can be used to pay for all or part of a purchase. It therefore appears in the list of available payment methods at checkout.

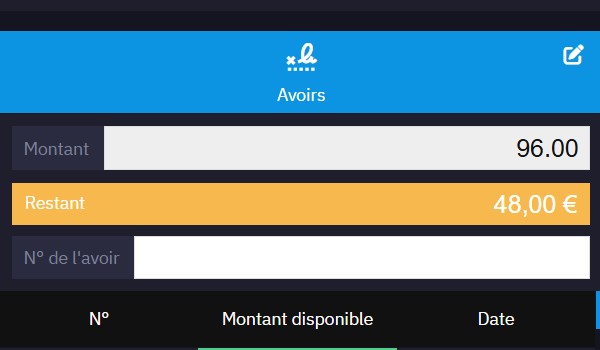
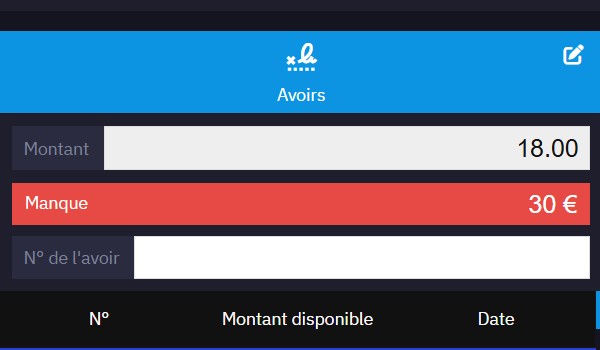
Once selected as a payment method, the list of available credit notes for the identified customer (or walk-in customer) is displayed.

The full history of that customer's credit notes is also shown (expired credit notes are flagged with a grey background).

2 possible cases:

1. The ticket amount is lower than the available credit note.

Simply click the credit note (the remaining balance is shown in yellow) and complete the sale: the ticket is validated and the remaining balance is automatically recorded by PrestaShop. It will be available for that customer's next purchase.

2. The ticket amount is higher than the available credit note.

Simply click the credit note (the remaining amount to pay is shown), then complete the sale: the ticket switches to split payment mode.
You can then choose another payment method or another credit note to finalize the payment (or leave the payment partial if that option is available).

Please note: it is not possible to manually enter an amount when a credit note is selected.

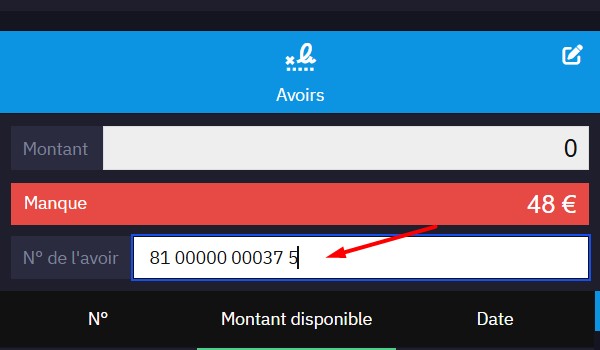
Any credit note can be used on any POS transaction as long as you have its barcode or associated EAN13 number.

Simply use the field provided for this purpose when selecting Credit Notes as the payment method, by scanning the barcode or entering the 13 digits.

Finding a Credit Note

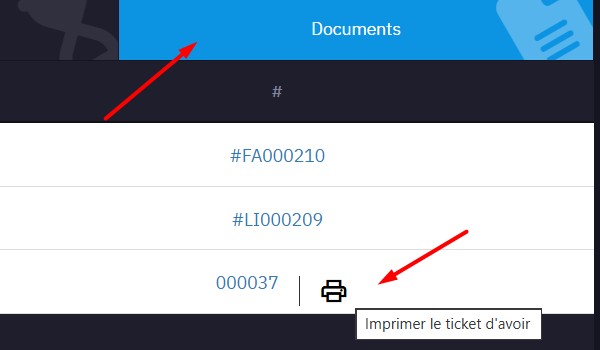
In addition to being visible at checkout, credit notes can be displayed or printed from:

    1) the Documents tab available on the details of the corresponding ticket

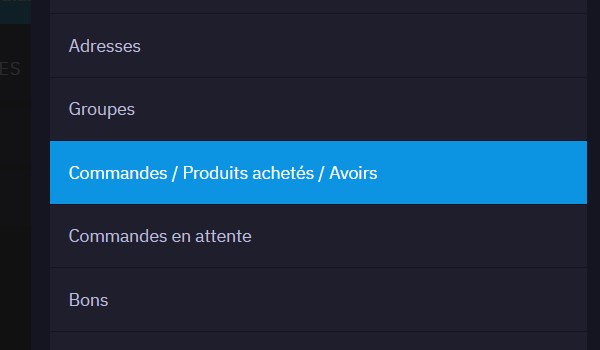
    2) the POS customer profile, under the Orders / Products Purchased / Credit Notes tab.

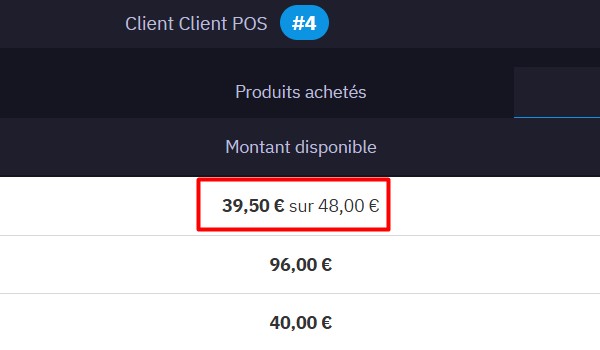
    If a credit note has been partially used, both the remaining available amount and the original amount are displayed. You can print the original credit note from this list.

    Please note: since credit notes are generated by PrestaShop, the accounting document linked to the credit note keeps the original amount even if the credit note has been partially used.
    However, it is the available amount that is displayed and usable at the POS.

    Credit notes are also visible in the PrestaShop back office, under Orders / Credit Notes (but cannot be used from there).