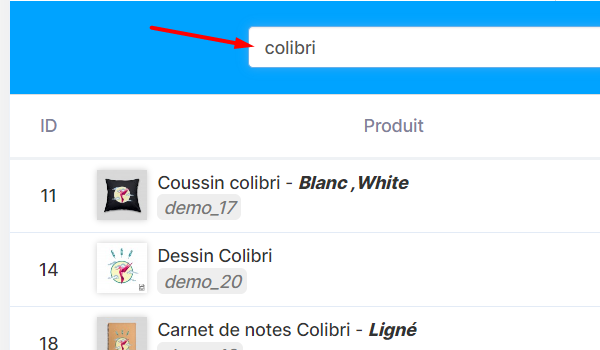
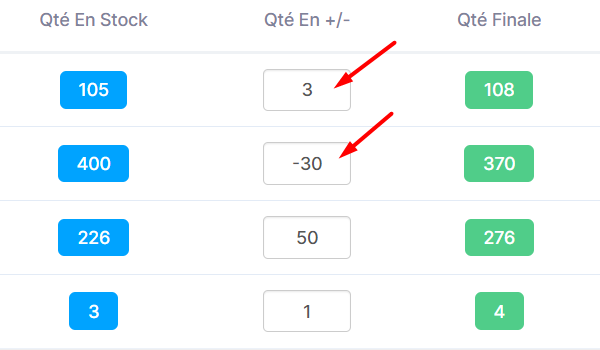
To make it easier to add or subtract a product quantity, you can click the minus or plus buttons (bottom left) before scanning a product 
Clicking the minus button automatically adds the "-" symbol before the quantity.
The mode is kept until it is changed.
It is possible to mix products in increase or decrease mode.
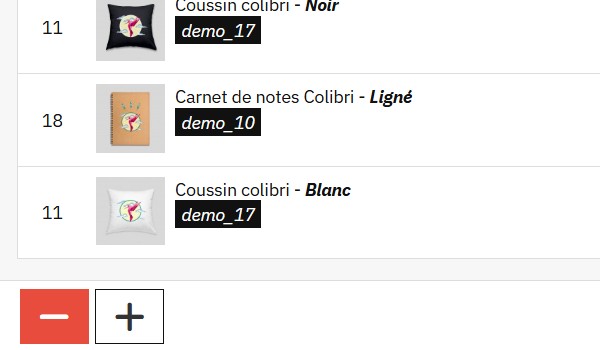
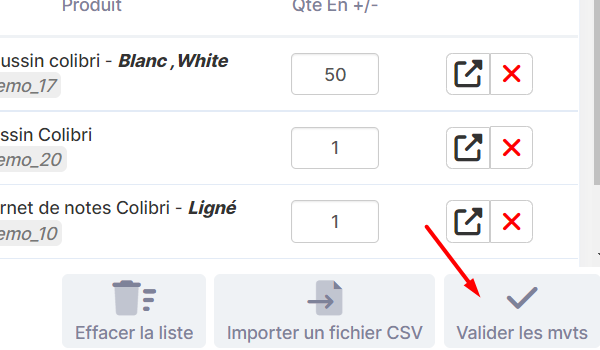
By clicking the button:

The module asks the user to confirm the action. If confirmed, all stock movements in the list are applied.
If a quantity was assigned to them, products with a pink background (Offline) are automatically enabled when movements are confirmed.
The list is then cleared.
Stock movements are visible in the "All movements" sub-menu of the Shop Manager.
Note: as long as you do not click Confirm stock movements, the product list is saved (it is linked to the user profile).
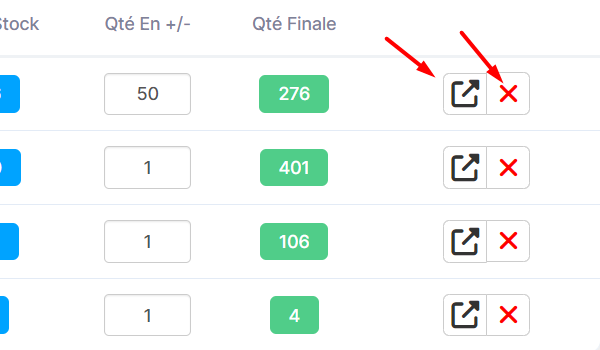
The  button opens the product sheet in PrestaShop.
The  button removes the line.
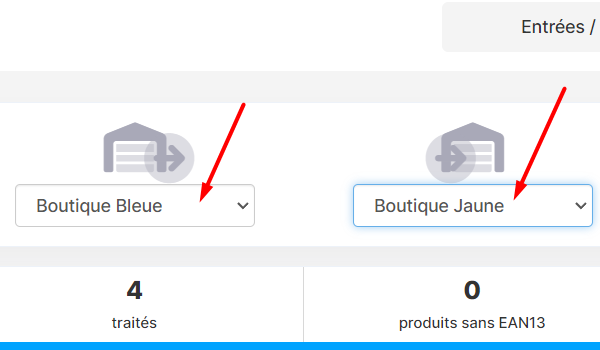
Stock transfer (only if the Stock by store module is installed): the 2nd drop-down list allows you to select another store to transfer stock to.
The drop-down lists  and
and  allow you to select the labels that will be associated respectively with outgoing and incoming stock movements (this is for information purposes only).
The  button clears the displayed product list (no movement is applied).
The action of the button is described in our "CSV Imports" tutorial.